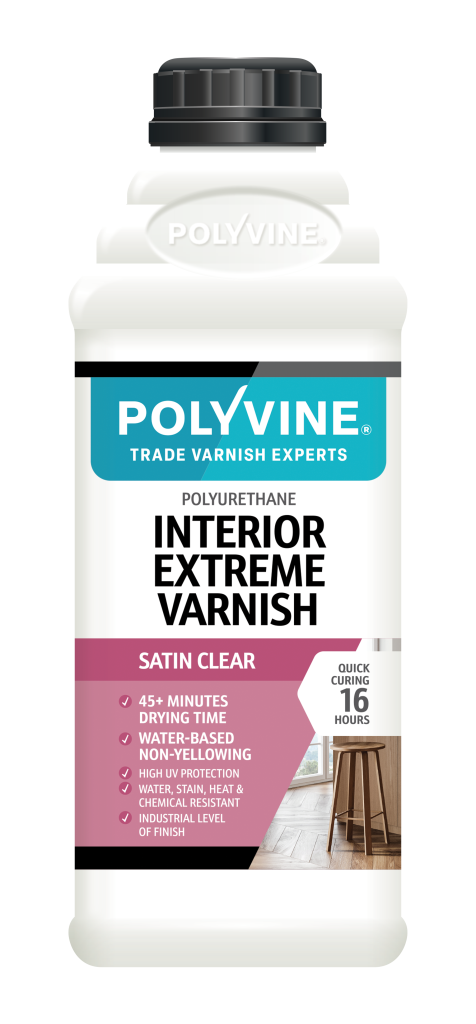
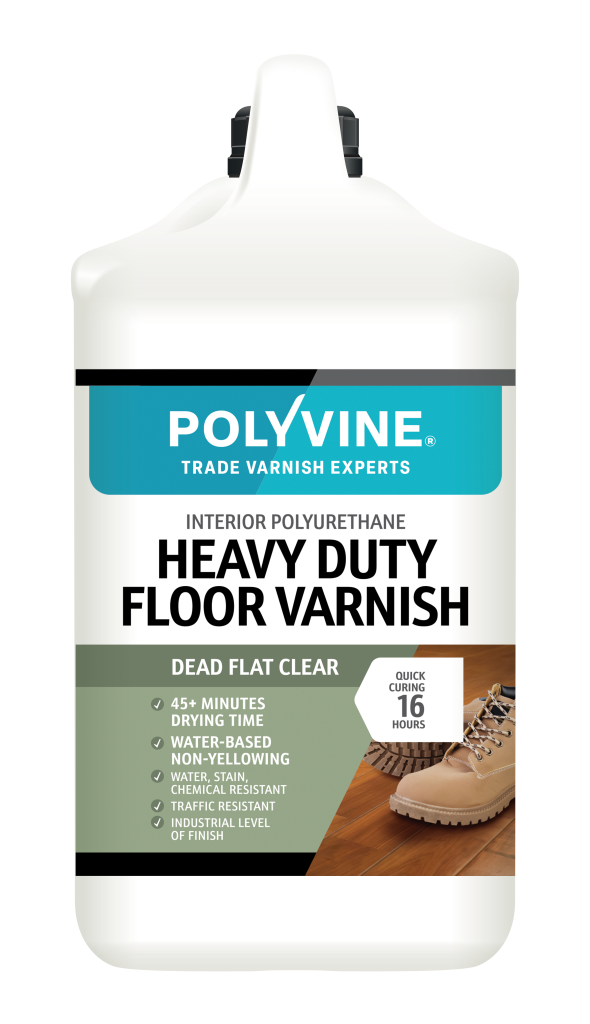
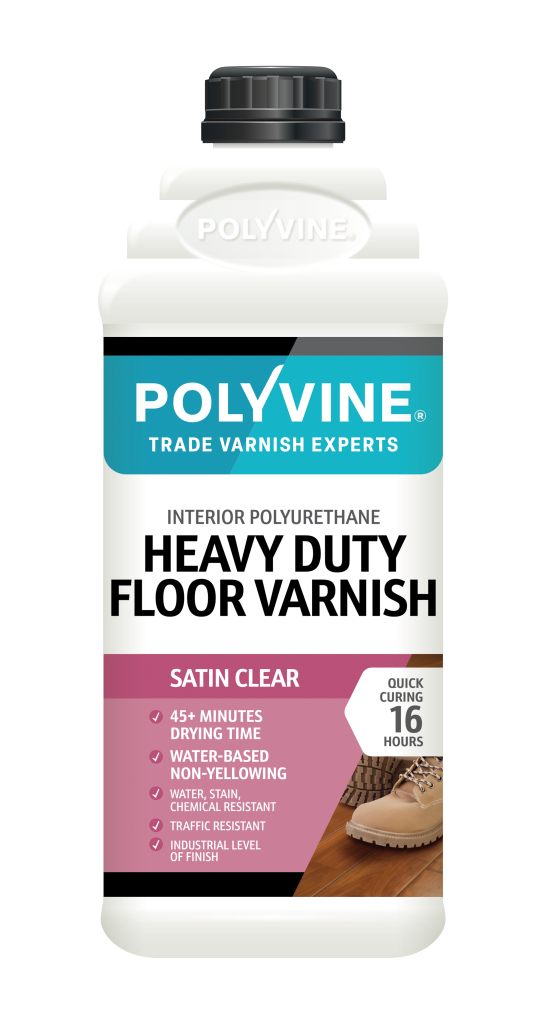
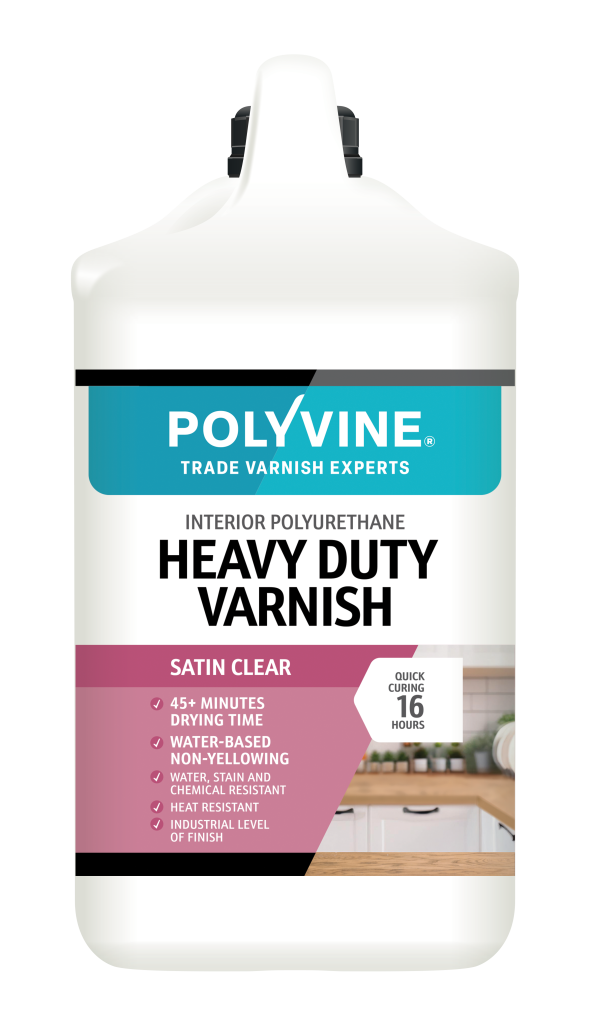
Spraying water-based varnish is an effective way to achieve a smooth, consistent finish across a wide range of surfaces, from furniture and joinery to larger commercial interiors.
When carried out correctly, spraying provides excellent control over the finish, particularly on detailed surfaces or larger projects where consistent coverage is important.
At Polyvine, we develop and manufacture professional water-based varnishes and coatings in the UK. This guide explains how to spray water-based varnish, choose suitable equipment, prepare your surface and avoid common application problems.
Yes. Many Polyvine water-based varnishes and coatings are suitable for spray application, although the recommended equipment and settings depend on the individual product.
Spraying is particularly useful for:
Always check the relevant Polyvine technical data sheet to confirm spray suitability and any specific application requirements.
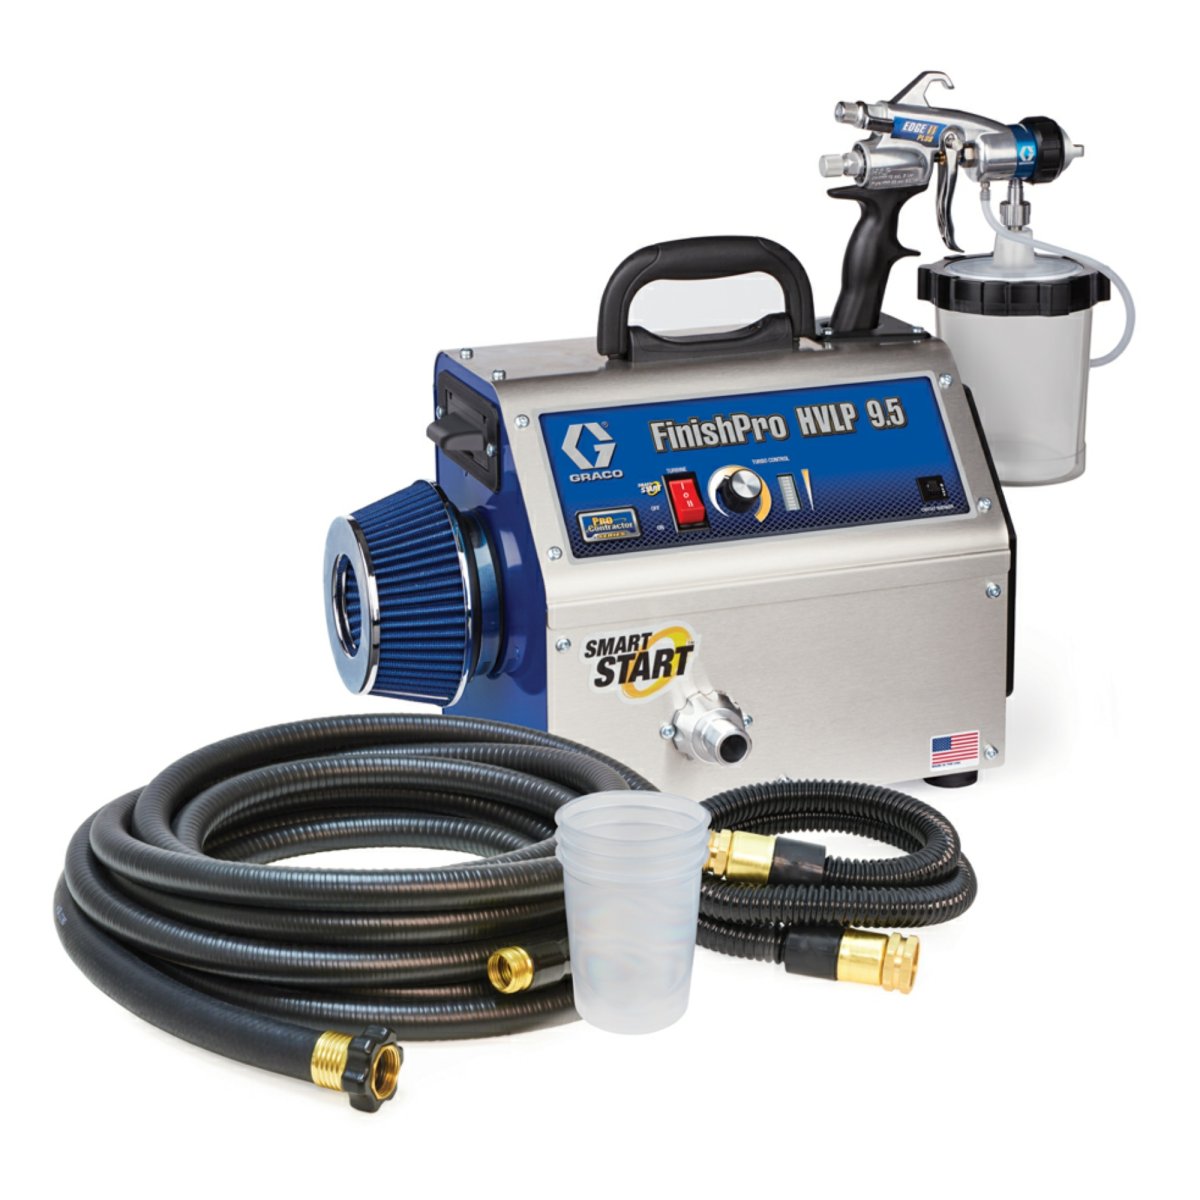
Different spraying systems offer different advantages depending on the product, surface and scale of the project.
HVLP stands for High Volume Low Pressure.
HVLP systems use a high volume of air at relatively low pressure to atomise the coating, allowing controlled application.
They are particularly useful for furniture, joinery, doors and smaller detailed projects where precision is important.
Advantages include:
Airless spraying uses high fluid pressure to atomise the coating without compressed air at the spray tip.
It can be an efficient method for larger surfaces and professional applications.
Advantages include:
Not every Polyvine coating is automatically suitable for airless application. Always confirm compatibility with the product and equipment.
Conventional spray systems use compressed air to atomise the coating.
They offer control over the spray pattern and can be suitable for workshop applications, furniture and detailed finishing.
Correct air pressure, fluid delivery and nozzle selection are essential.
The correct spray tip or nozzle depends on several factors:
There is no single spray tip or pressure setting suitable for every Polyvine varnish.
Always follow the product-specific guidance, check the spray equipment manufacturer’s recommendations and complete a test application before starting the main project.
Some Polyvine water-based coatings may be diluted with clean water where permitted by the product instructions.
However, not every product requires thinning, and excessive dilution can affect coverage, film build and performance.
Never assume that a dilution ratio suitable for one varnish is appropriate for another.
Always check the relevant technical data sheet before adding water, particularly when using specialist polyurethane or two-pack systems.
Good preparation is essential for a professional finish.
Ensure the surface is:
For bare timber, follow the product’s recommended sanding and preparation procedure.
Previously coated surfaces may require additional preparation to ensure adhesion.
Always carry out a test area to check compatibility, adhesion and appearance.
Spraying should take place in a suitable, well-ventilated and controlled working environment.
Protect surrounding surfaces from overspray and ensure the area is free from unnecessary dust.
Avoid unsuitable temperatures, excessive humidity, direct sunlight and strong air movement that could affect the finish.
Important: Spraying water-based coatings can generate airborne droplets. Use appropriate extraction, respiratory protection and other personal protective equipment identified by the product safety data sheet and your spraying risk assessment. Follow the equipment manufacturer’s safety instructions.
Ensure the varnish is thoroughly mixed in accordance with the product instructions.
Avoid vigorous shaking, which can introduce air bubbles.
If using a two-pack product, carefully follow the specified mixing ratio, mixing procedure and working time.
Only thin the coating if permitted by the product’s technical guidance.
Select the appropriate nozzle or tip and adjust your equipment according to the coating and manufacturer’s recommendations.
Before spraying the main surface:
The aim is to achieve a consistent application without applying too much material.
Hold the spray gun at a consistent distance from the surface, keeping it as perpendicular as practical.
Move the gun smoothly across the surface, maintaining a consistent speed.
Start the movement before triggering the gun and release the trigger at the end of each pass.
Overlap each pass evenly to avoid missed areas and variations in film thickness.
Work systematically, following the shape and direction of the surface.
Avoid excessive application, which can cause runs, sagging and extended drying times.
Allow the varnish to dry for the period specified in the relevant Polyvine technical data sheet.
Drying times are affected by temperature, humidity, ventilation and the thickness of the coating.
Do not apply the next coat until the surface is ready for recoating.
Apply the recommended number of coats, maintaining consistent coverage and following any requirements for de-nibbing or sanding between coats.
For timber, light de-nibbing may be required where the first coat has raised the grain.
Remove all sanding dust before continuing.
Allow the completed coating system to cure fully before exposing it to heavy wear, cleaning chemicals or demanding use.
What is it? An uneven, textured finish resembling the surface of an orange.
Possible causes: Poor atomisation, unsuitable spray settings, incorrect application thickness or drying conditions.
How to avoid it: Check the nozzle, pressure, spray distance and coating preparation. Carry out a test spray and adjust the equipment before continuing.
What are they? Areas where excess coating flows down the surface.
Possible causes: Applying too much varnish, moving the gun too slowly or holding it too close to the surface.
How to avoid them: Maintain a consistent spray distance and movement speed. Apply controlled, even coats.
What is it? A rough finish caused when sprayed material does not flow together properly on the surface.
Possible causes: Excessive spray distance, unsuitable atomisation or environmental conditions.
How to avoid it: Check your equipment setup, spray distance and working environment.
What is it? Differences in gloss, satin or dead flat appearance across the coated surface.
Possible causes: Uneven film thickness, inconsistent overlap or inadequate mixing.
How to avoid it: Mix the product thoroughly, maintain consistent coverage and follow the recommended coating system.
What is it? The coating fails to bond properly with the surface.
Possible causes: Surface contamination, incompatible existing coatings, inadequate preparation or unsuitable application conditions.
How to avoid it: Prepare the surface correctly and always carry out an adhesion test where compatibility is uncertain.
Clean spray equipment promptly after use, following the equipment manufacturer’s instructions and the relevant Polyvine product guidance.
For suitable water-based products, cleaning may involve water and appropriate cleaning procedures.
Remove coating residue from the gun, nozzle, filters and fluid passages.
Never allow varnish to dry inside the equipment.
Dispose of waste coatings and cleaning materials responsibly. Do not discharge coating residues into drains or watercourses.
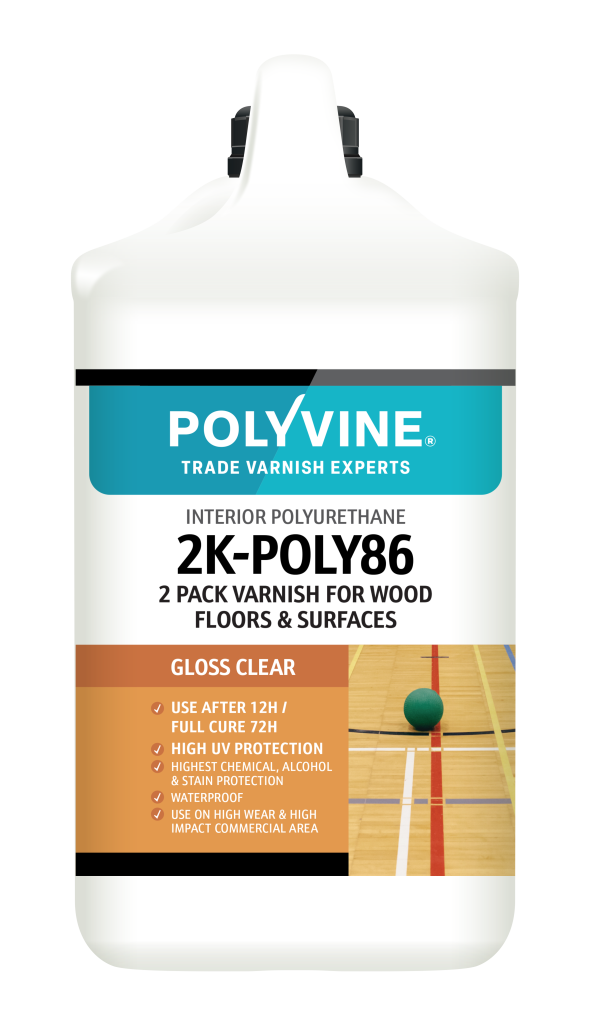
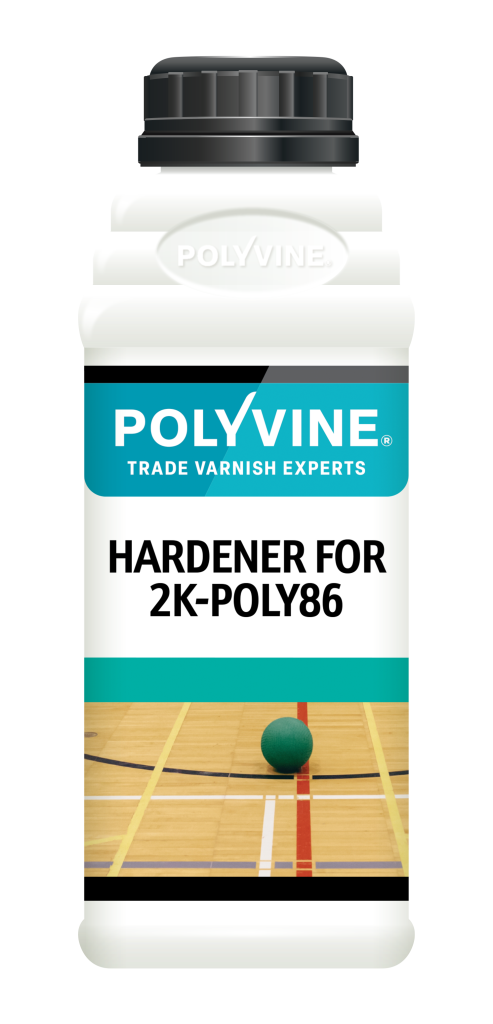
For professional decorators working on demanding interior projects, Polyvine 2K-POLY86 is a two-pack water-based polyurethane varnish designed to provide exceptional durability.
Professional decorator Ashley Taylor of Taylor & Sons uses airless spray equipment when applying 2K-POLY86.
His working setup includes a 310 FFLP (Fine Finish Low Pressure) tip, operating between approximately 1,200 and 1,600 psi, with adjustments made to achieve the required spray pattern and finish.
These are Ashley’s working settings rather than universal recommendations for every spray system.
Read the full article: Spraying Polyvine 2K-POLY86 — Expert Trade Advice.
Yes. Many water-based polyurethane varnishes can be sprayed using suitable equipment. Always check the product’s technical data sheet for approved application methods and preparation requirements.
Both methods can produce professional results. HVLP is often useful for controlled finishing on furniture and joinery, while airless systems can be efficient for larger projects. The best choice depends on the coating, equipment and surface.
Not always. Some products are ready to spray, while others may permit limited dilution. Always follow the manufacturer’s instructions.
The number of coats depends on the Polyvine product, surface and required level of protection. Follow the relevant technical data sheet.
A rough finish may result from dry spray, contamination, unsuitable spray settings or incorrect drying conditions. Check your equipment and environment before applying further coats.
Yes, using suitable equipment and following the product’s mixing, application and safety instructions. Read our dedicated 2K-POLY86 spraying article for professional application advice.
Every Polyvine product is formulated for a specific purpose, so always refer to the latest technical data sheet before application.
Explore our Technical Data Sheets and Technical Helpsheets.
For advice on your project, contact Polyvine on 01934 740305 or email info@polyvine.co.uk.
Polyvine — Trade Varnish Experts.
Polyvine products are stocked at all good decorators’ merchants across the UK. Search our directory to find your nearest stockist.