Choosing the Correct Coating for Spring and Summer Projects

As we move into peak season, exterior projects ramp up, but so can the challenges. Warmer temperatures, increased UV exposure, and unpredictable moisture levels all put pressure on your finish.

Getting the system right isn’t just about the final coat. It’s about understanding environmental conditions, substrate type, expected performance, and how the timber has been designed and prepared, then applying a coating that delivers.

  1. Start with the Environment

Spring and Summer conditions are rarely as simple as “dry and warm.”

  • UV exposure can quickly degrade unprotected timber, leading to greying and surface breakdown
  • Moisture fluctuations (rain, dew, humidity) cause expansion and contraction in the timber
  • Heat can accelerate drying times, affecting application and finish

That’s why your exterior coating needs to protect, flex, and last.

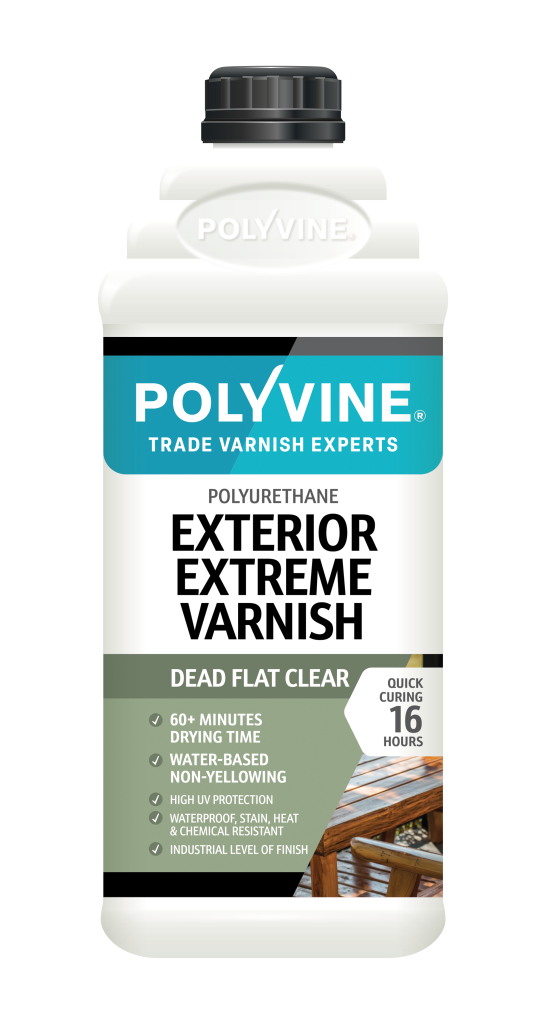
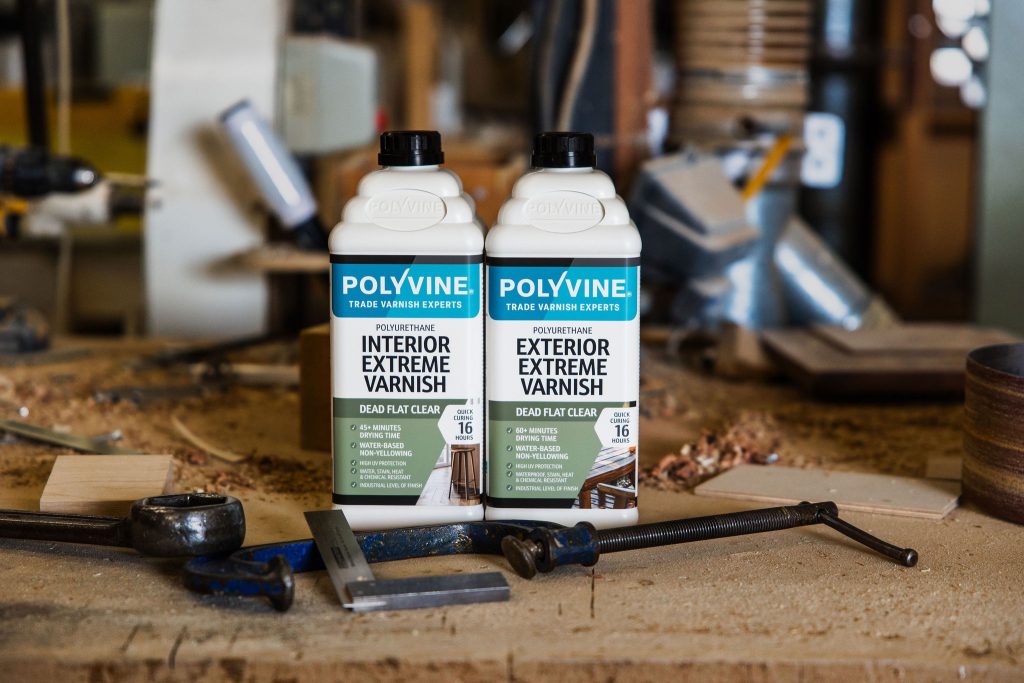
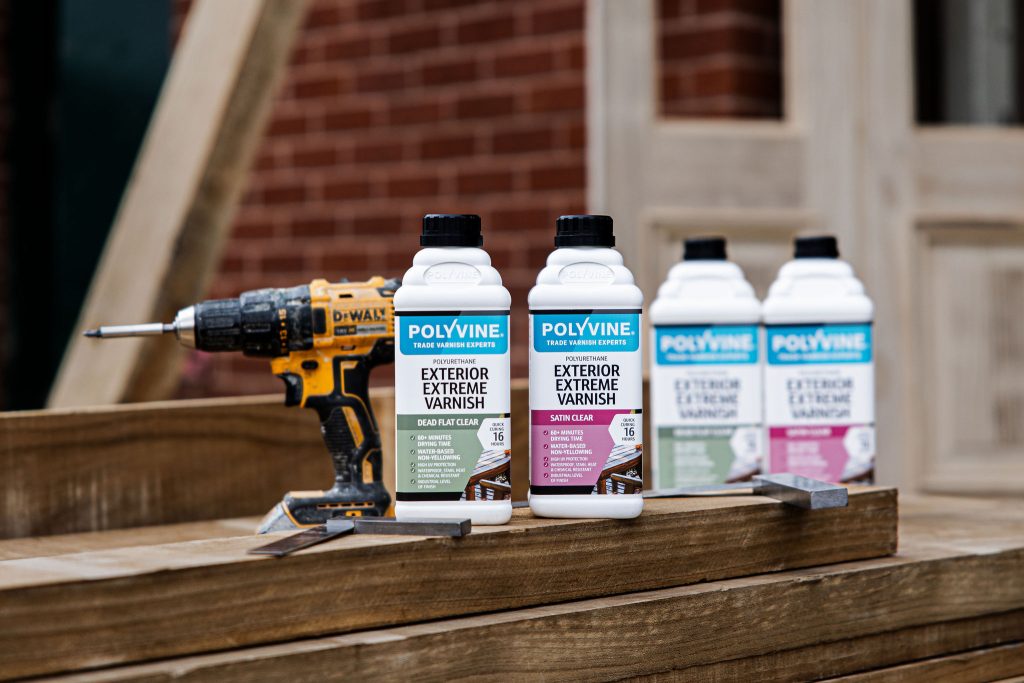
For high-exposure environments – garden furniture, buildings, cladding and exterior joinery – products like Exterior Extreme Varnish are designed to handle it all, offering UV resistance, waterproofing, and protection against mould and fungal attack.

  1. Understand the Substrate

Not all timber behaves the same. The right coating always depends on what you’re working with, but just as importantly, how well the timber has been prepared and constructed.

Before any coating is applied

  • Ensure the timber is fully prepared – clean, sanded, and free from contaminants
  • Check moisture content – timber that is too wet will compromise adhesion and long-term performance
  • Extract excess moisture where necessary before coating


Common Joinery Considerations:

Even the best coating system can struggle if basic joinery details are overlooked:

  • Window sills should be angled correctly to allow water to run off rather than sit on the surface
  • Gaps in joints or poorly sealed connections can allow moisture ingress, leading to failure from within

Addressing these at the start significantly improves coating performance and longevity.

Bare or New Timber

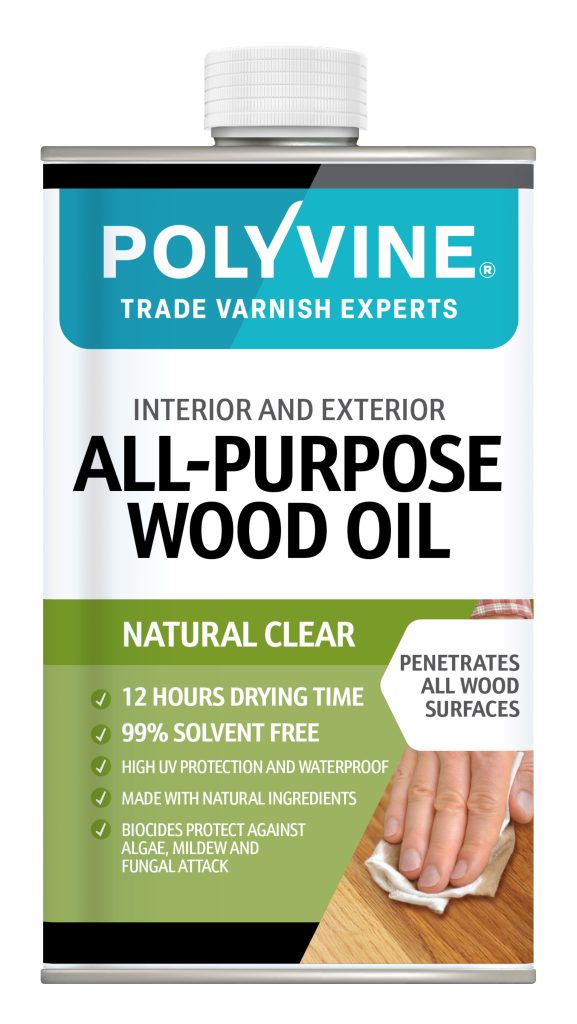
Fresh wood is porous and needs penetration as well as protection.

Recommended system:

  • Wood Dye: Adds colour while enhancing grain and creating a uniform base – protect with a clear exterior varnish
  • Wood Oil: Feeds and nourishes the timber, improving durability
  • Exterior Wood Varnish or Exterior Extreme Varnish: Seals and protects

This approach ensures both aesthetic finish and long-term performance.

If you are creating a bespoke timber project, this is the ideal stage to fully coat all surfaces, including end grain and hidden areas, before installation.
Building protection in at the start helps prevent future moisture ingress, movement, and coating failure.

Previously Coated Surfaces

Existing coatings can affect adhesion and durability.

Key steps:

  • Remove unstable coatings
  • Sand to create a key
  • Ensure the surface is clean and dry

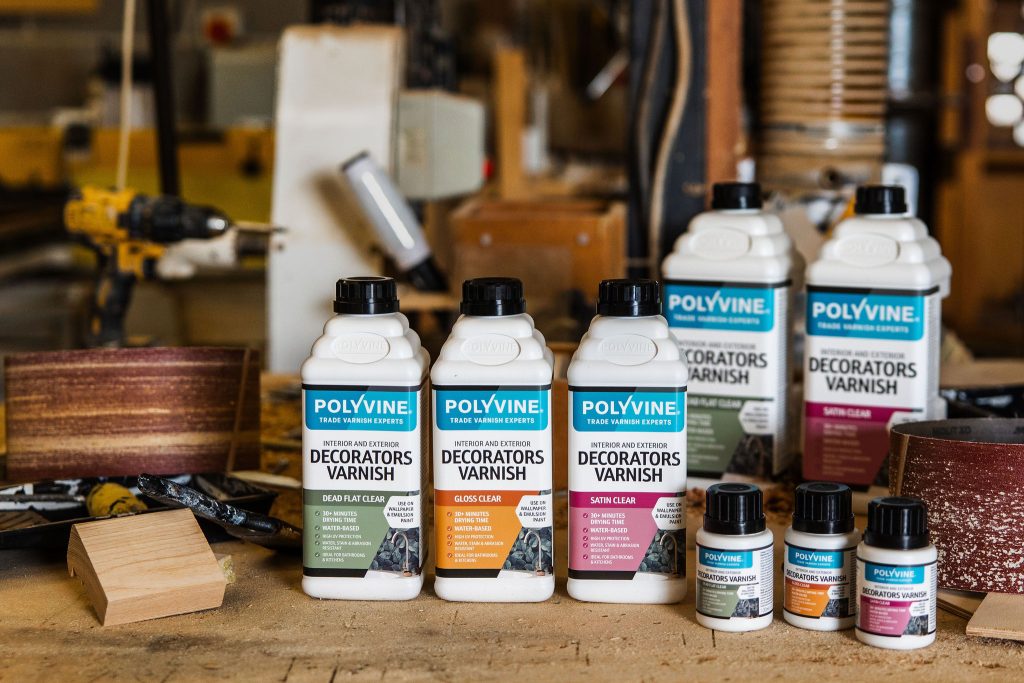
Then choose your topcoat based on performance needs:

  • Exterior Wood Varnish for breathable, microporous protection
  • Exterior Extreme Varnish for maximum durability in high-wear areas
  • Exterior Wood Varnish offers a microporous, waterproof finish that resists UV damage while allowing the timber to breathe, reducing the risk of cracking or blistering.


Exterior Wood Varnish


  1. Build Protection into Your System

Durability isn’t just about hardness, it’s about resisting everything the environment throws at it.

For Maximum Protection (High Traffic / Harsh Exposure)

Use Exterior Extreme Varnish:

  • Industrial-level durability
  • UV blockers prevent fading and greying
  • Resistant to water, stains, and heavy wear

Ideal for:

  • Exterior flooring
  • Outdoor furniture, worktops, bars, doors and frames

For General Exterior Joinery

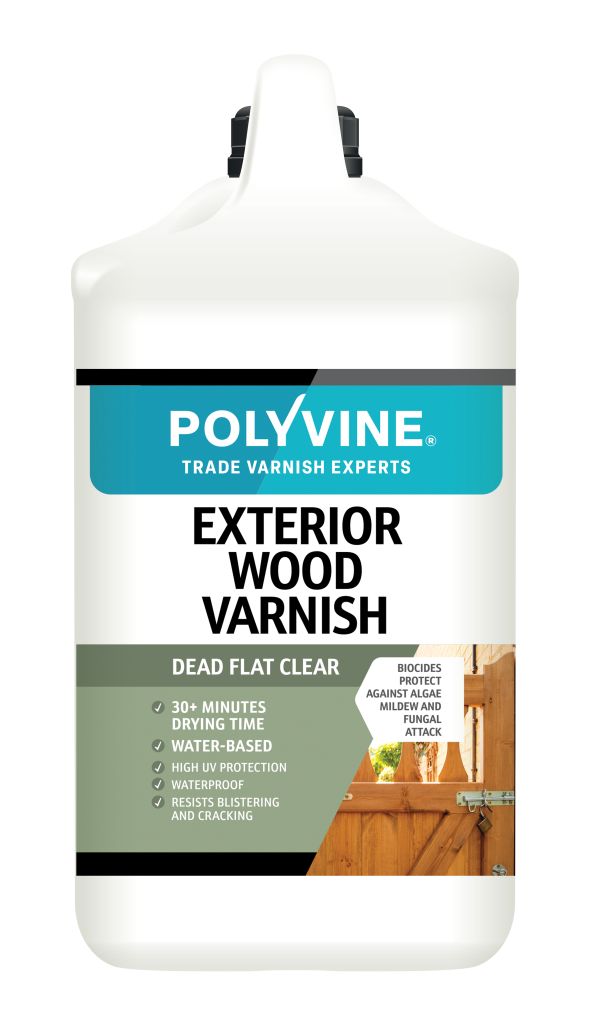
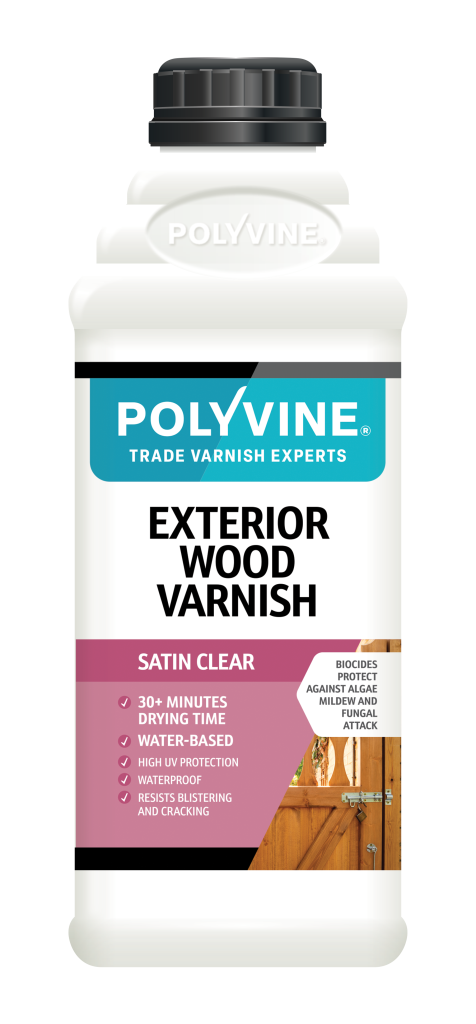
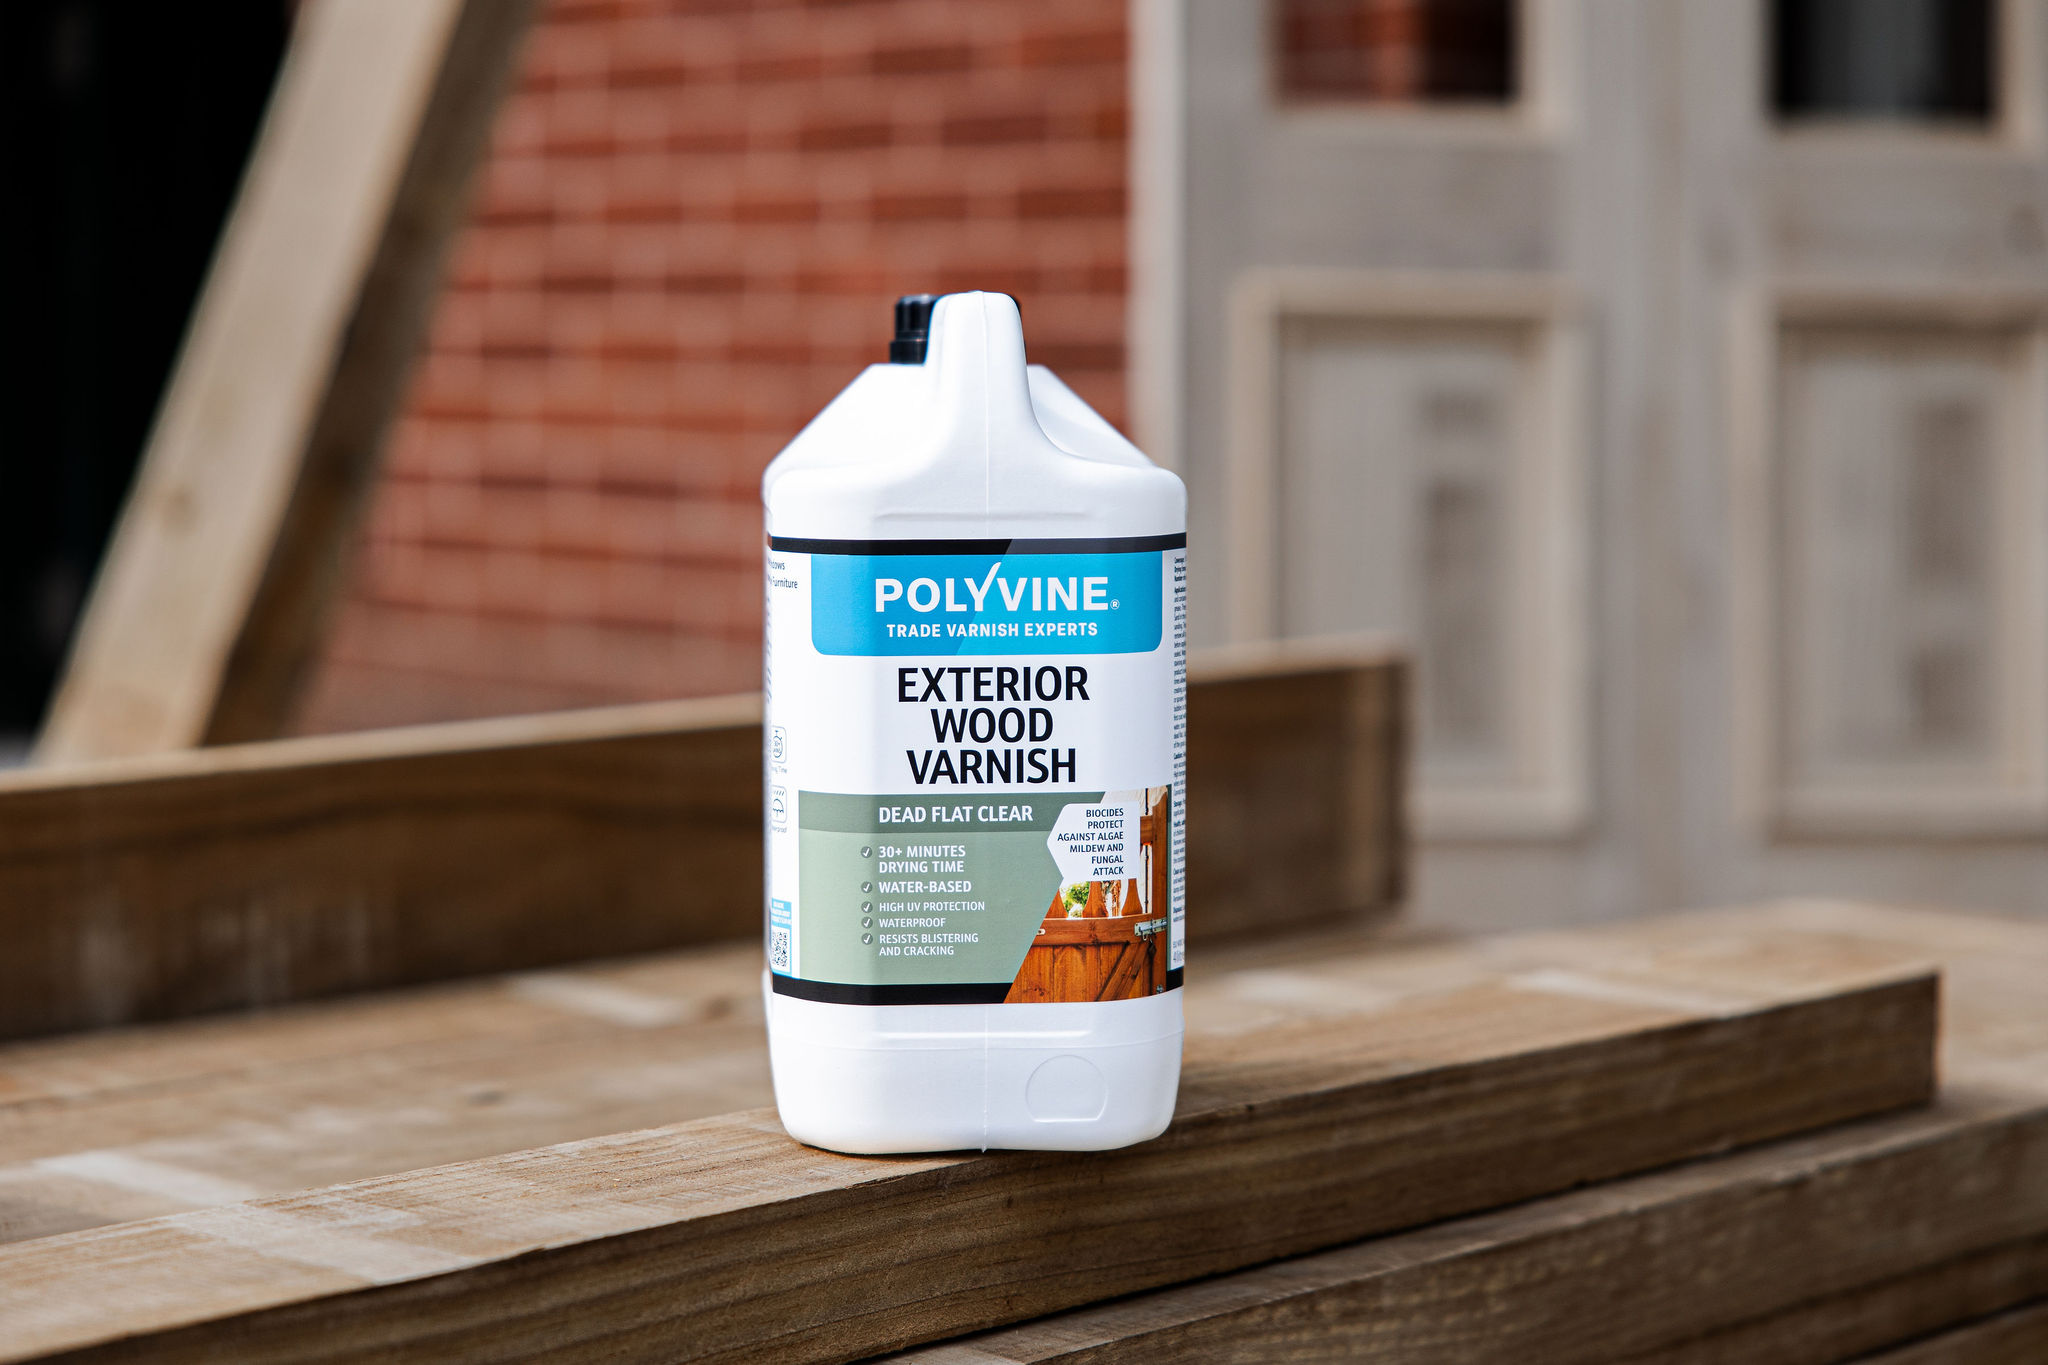
Use Exterior Wood Varnish:

  • Flexible, microporous system
  • UV resistant and waterproof
  • Enhances natural grain

Ideal for:

  • Doors and windows
  • Cladding
  • Garden structures


  1. Don’t Overlook Protection from Biological Growth

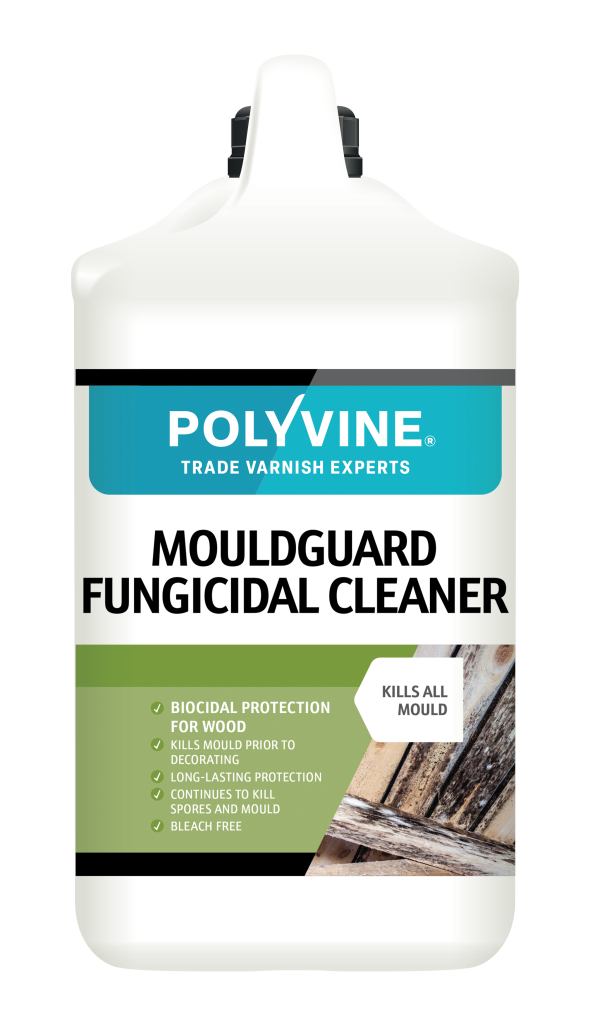
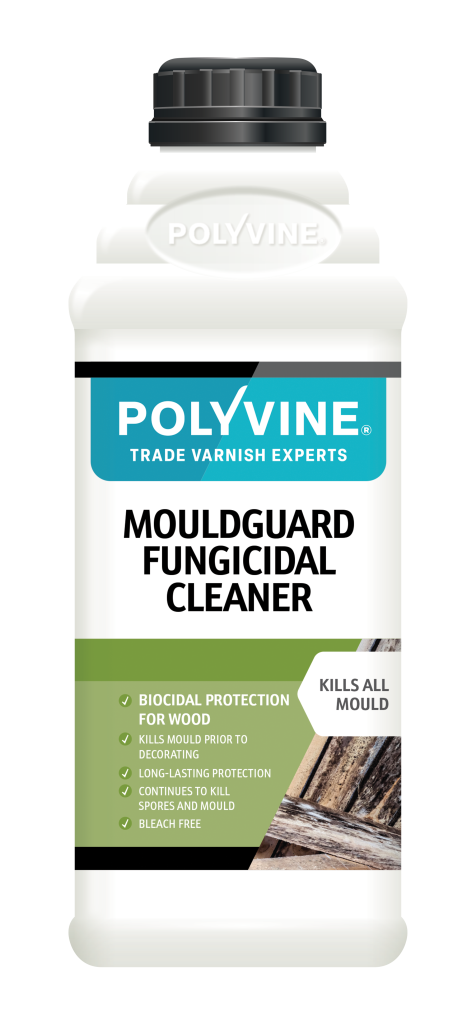
Spring and summer also bring increased risk of:

  • Mould
  • Algae
  • Fungal growth

That’s where Mouldguard Fungicidal Cleaner plays a crucial role in your system.

Use it:

  • As a preventative treatment
  • On problem areas prone to damp or poor airflow

Combined with a coating that includes biocides to resist mould and mildew, you create a finish that stays cleaner for longer.


  1. Set the Right Expectations

A high-end finish isn’t just about application, it’s about matching the correct coating to the job and its environment.

Ask:

  • What level of wear will this surface face?
  • How exposed is it to sun and moisture?
  • Is the client expecting a natural look or a coloured finish?

For example:

  • A clear, natural finish → All-Purpose Wood Oil
  • A decorative coloured finish → Wood Dye + protective clear topcoat
  • A heavy-duty, long-life system → Exterior Extreme Varnish


  1. Application Matters as Much as Product Choice

Even the best system can fail if applied incorrectly.

Best practice:

  • Always apply to clean, dry timber
  • Avoid application in damp, cold, or very hot conditions
  • Build up 2–3 thin coats rather than one heavy coat
  • Allow proper drying between coats

Exterior varnishes perform best when applied in stable, dry conditions without imminent rain or heavy dew/condensation.

The Takeaway

Spring and Summer projects demand more from your finishes. By considering:

  • Environment (UV, moisture, temperature)
  • Substrate (new vs previously coated)
  • System design (prep, treatment, finish)
  • Joinery detail and initial timber preparation

You can deliver results that don’t just look good on day one, but continue to perform long after.

The right system doesn’t just protect the surface, it also protects your reputation.

Find a stockist

Polyvine products are stocked at all good decorators’ merchants across the UK. Search our directory to find your nearest stockist.

find a stockist near you
info@polyvine.co.uk +44 (0)1934 740305